Once your Basic mailbox has been created, go to Outlook on your Mac computer to set up your mailbox.
Outlook on a Windows computer? Use our manual for Outlook on Windows.
Follow these steps in Outlook for Mac 2016:
- Go to “Accounts” via the “Extra” menu.
- Click on the plus sign at the bottom left to add an account.
- Enter your e-mail address and continue.
- Select “IMAP / POP” in the menu and continue.
- Choose IMAP or POP in the drop-down menu (Read our selection guide) and enter the missing information. Check “Use SSL to connect” at the servers (see image).
Username: Enter your e-mail address
Password: Enter your password
Incoming e-mail server:
For IMAP (recommended): imap.mailprotect.be - Port 993
For POP3: pop3.mailprotect.be - Port 995
Outgoing e-mail server:
smtp-auth.mailprotect.be - Port 587

- Click on “Add account” to add your account.
- Click on “More options” at the bottom and make sure that “Use info Incoming Server” is checked under “Authentication”. Click on “Ok” to close the window.
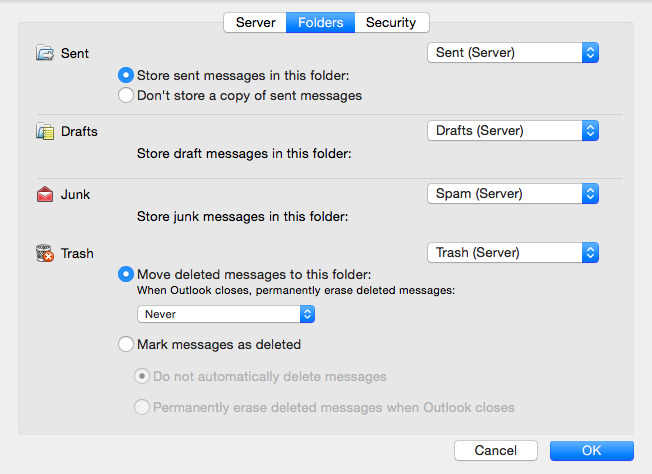
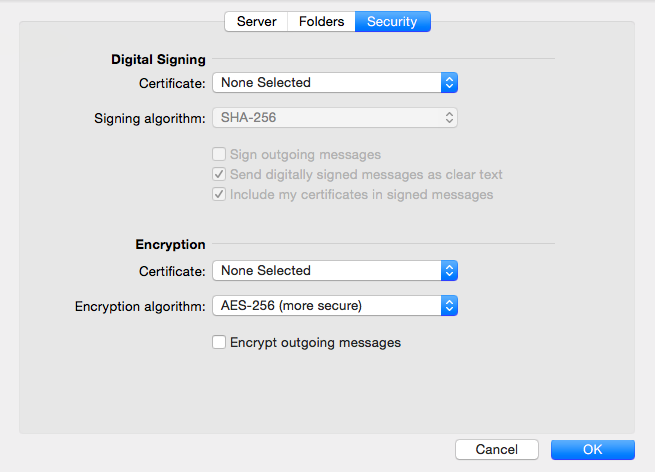
- Optional: Click on “Advanced” for additional recommended settings (see screenshots).

Follow these steps in Outlook for Mac 2011:
- Go to “Accounts” via the “Tools” menu.
- Click on the plus sign at the bottom left to add an account and choose “E-mail”.
- Enter your e-mail address and password and continue.
- Choose IMAP or POP in the drop-down menu (Read our selection guide) and enter the missing information. Check “Use SSL to connect” at the servers (see image).
Username: Enter your e-mail address
Password: Enter your password
Incoming e-mail server:
For IMAP (recommended): imap.mailprotect.be - Port 993
For POP3: pop3.mailprotect.be - Port 995
Outgoing e-mail server:
smtp-auth.mailprotect.be - Port 587

- Click on “Add account” to add your account.
- Click on “More options” at the bottom and make sure that “Use info Incoming Server” is checked under “Authentication”. Click on “Ok” to close the window.

