Magento is one of the most popular CMS for e-commerce. It can handle small and large online stores equally well, with a little optimization. This article will help you prepare your CMS to handle large traffic without losing on speed.
This article will show you standard optimization techniques, suitable for every hosting, even if you are not using the [caching options].
Only when you have completed the general optimization, you can proceed to the second part of the article, which shows you how your CMS can benefit from the Performance hosting tools.
Table of Contents:
General optimization
This article outlines the usual optimizations that can be done in Magento.
Some optimizations are free, some are not paid for now, and some do require upgrades.
Activation of APC
Step 1: Activate APC in the control panel
APC is available for PHP 5.4 and lower
- Log in on your control panel
- Follow My Products >> Web hosting >> Hosting details
- From the left-hand panel go to PHP settings
- You are now in the Overview. Check the PHP version.

- Switch to the ON/Off tab.

- Switch on apc.

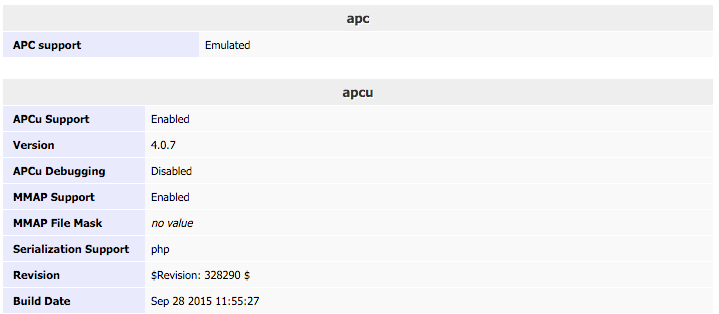
- PHP changes take time. To check if your changes took place switch to the PHP info tab. Look for the APC section. If it is there, you have activated APC successfully.

Step 2: Now configure the user cache, too.
- Create an SSH account on the hosting package
- For convenience, add SSH keys.
- Open a terminal or command prompt and connect. Add those lines in the local.xml (/app/etc/local.xml) file with under the
<global>tag:<cache> <backend>apc</backend> <prefix>someprefix</prefix> </cache>


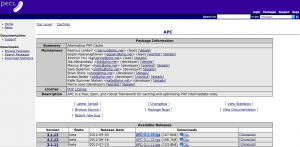
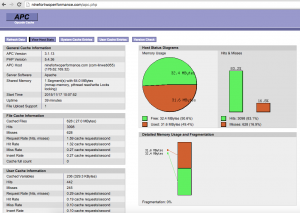
Step 3: Check if it’s caching! You need the apc.php file. To get it, download the latest installation of APC.
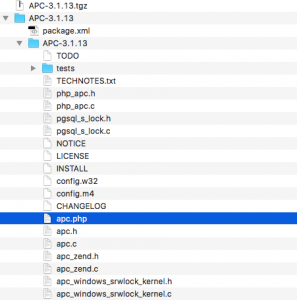
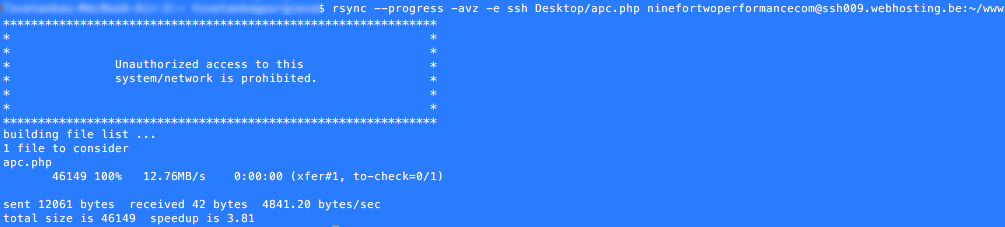
- Upload apc.php in your Magento directory
- Open the apc.php file in your browser. The page will show you file caching information.
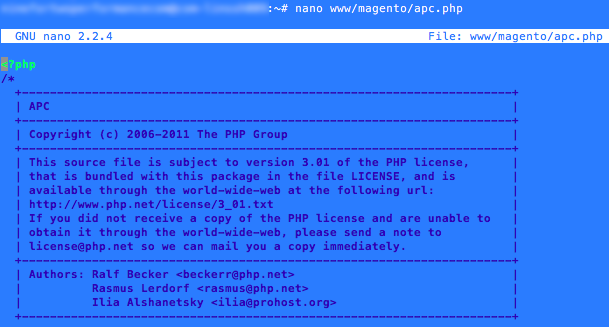
- In your terminal or command prompt, open your apc.php file and edit the ADMINUSERNAME and ADMINPASSWORD values. Save.


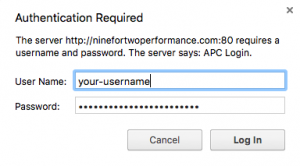
- Open apc.php file in your browser again. Navigate to the User Cache Entries tab.

- Login with the username and password you just set.
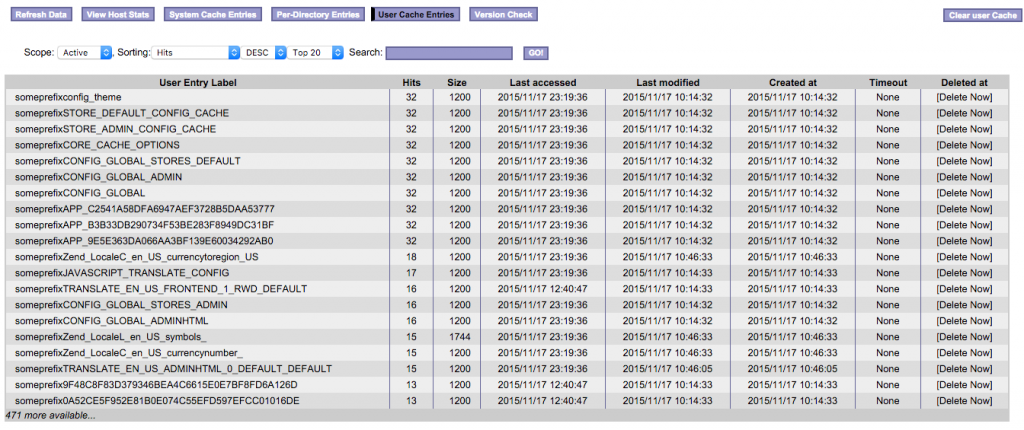
- You are seeing here the user cache entries.
Gzip and expiration of the cache

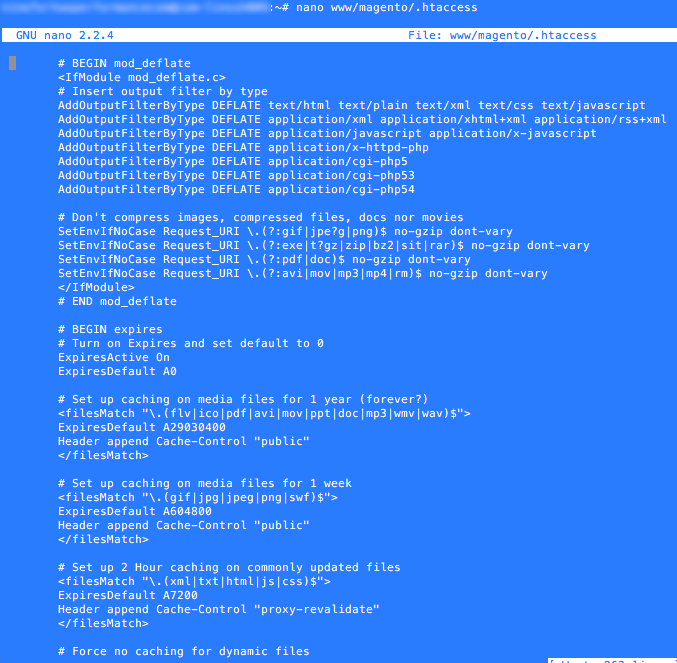
To optimize even further you can use Gzip and the expiration of the cache. Just copy and paste the following code at the bottom of the .htaccess file:
# BEGIN moddeflate

# Insert output filter by type
AddOutputFilterByType DEFLATE text/html text/plain text/xml text/css text/javascript
AddOutputFilterByType DEFLATE application/xml application/xhtml+xml application/rss+xml
AddOutputFilterByType DEFLATE application/javascript application/x-javascript
AddOutputFilterByType DEFLATE application/x-httpd-php
AddOutputFilterByType DEFLATE application/cgi-php5
AddOutputFilterByType DEFLATE application/cgi-php53
AddOutputFilterByType DEFLATE application/cgi-php54

# Don't compress images, compressed files, docs nor movies
SetEnvIfNoCase RequestURI .(?:gif|jpe?g|png)$ no-gzip dont-vary
SetEnvIfNoCase RequestURI .(?:exe|t?gz|zip|bz2|sit|rar)$ no-gzip dont-vary
SetEnvIfNoCase RequestURI .(?:pdf|doc)$ no-gzip dont-vary
SetEnvIfNoCase RequestURI .(?:avi|mov|mp3|mp4|rm)$ no-gzip dont-vary

# END moddeflate

# BEGIN expires
# Turn on Expires and set default to 0
ExpiresActive On
ExpiresDefault A0

# Set up caching on media files for 1 year
<filesMatch "\.(flv|ico|pdf|avi|mov|ppt|doc|mp3|wmv|wav)$">
ExpiresDefault A29030400
Header append Cache-Control "public"

# Set up caching on media files for 1 week
<filesMatch "\.(gif|jpg|jpeg|png|swf)$">
ExpiresDefault A604800
Header append Cache-Control "public"

# Set up 2 Hour caching on commonly updated files
<filesMatch "\.(xml|txt|html|js|css)$">
ExpiresDefault A7200
Header append Cache-Control "proxy-revalidate"

# Force no caching for dynamic files
<filesMatch "\.(php|cgi|pl|htm)$">
ExpiresActive Off
Header set Cache-Control "private, no-cache, no-store, proxy-revalidate, no-transform"
Header set Pragma "no-cache"

# END expires
Activate and setup indexer
You need to stop APC before you proceed to this step and restart it afterwards.
Reindexing rearranges product indexes – from indexes stored in multiple tables into a single table structure. Database queries become simpler and faster.
- Open a terminal or command prompt and connect.

- Browse your files to the Shell folder in your installation folder: [Magentofolder]/shell
![[Magentofolder]/shell](https://www.combell.com/en/help/wp-content/uploads/2019/11/Magento-General-optimization26.png)
- Run the following command:
php indexer.php
- Now you get to see the options. Enter the following commands:
- To rebuild all indexes:
php indexer.php --reindexall
- The indexes are rebuilt if relevant changes are stored via the backend:
php indexer.php --mode-realtime
- To rebuild all indexes:
Cron scheduling via cronjobs
Schedule a cronjob for cron.php to be opened every 5 min via the control panel.
Cron.php is a default file found in the root directory of the Magento webshop installation. It manages the regular automatic performance of essential tasks.

Activating flat catalogs
When Flat catalogs are enabled new single raw catalog tables are created as you go which can be regularly updated via the Magento cron.
- Log in your Magento backend to enable flat catalogs
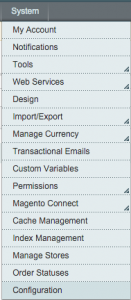
- Follow System >> Configuration.
- From there go to Catalog.
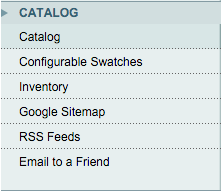
- Choose the first topic Frontend.

- Now turn on “Use flat catalog category” and “Use flat catalog products”. (Tip: If it is greyed out, reindex from System >> Index management)


- Follow System >> Configuration.
Optimizations in the .htaccess file
Copy and paste the following code at the bottom of your .htaccess file
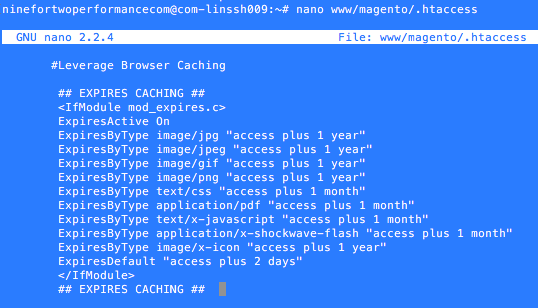
#Leverage Browser Caching

## EXPIRES CACHING ##

ExpiresActive On
ExpiresByType image/jpg "access plus 1 year"
ExpiresByType image/jpeg "access plus 1 year"
ExpiresByType image/gif "access plus 1 year"
ExpiresByType image/png "access plus 1 year"
ExpiresByType text/css "access plus 1 month"
ExpiresByType application/pdf "access plus 1 month"
ExpiresByType text/x-javascript "access plus 1 month"
ExpiresByType application/x-shockwave-flash "access plus 1 month"
ExpiresByType image/x-icon "access plus 1 year"
ExpiresDefault "access plus 2 days"

## EXPIRES CACHING ##

