To take a screenshot of a selected section of your screen, follow these steps:
- Press Shift + Command + 4 simultaneously. The pointer will change to a crosshair.
- Move the crosshair to where you want to start the screenshot, then drag to select an area. When ready, release to create the screenshot.

- The screenshot is automatically saved on your desktop.

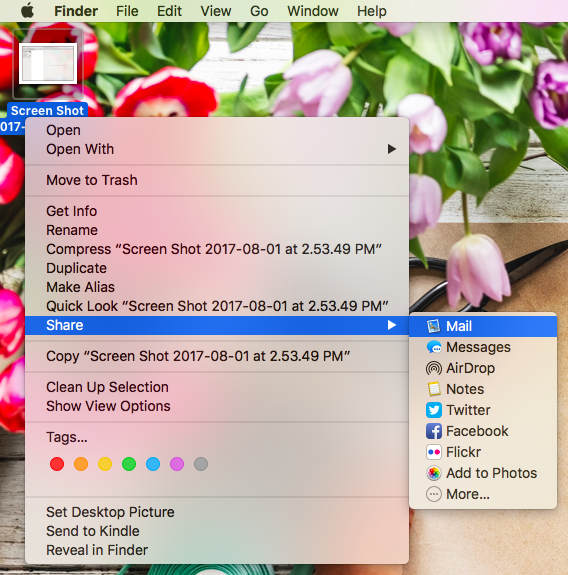
- To send the screenshot via e-mail, right-click the file. Follow ‘Share’ >> ‘Mail’.
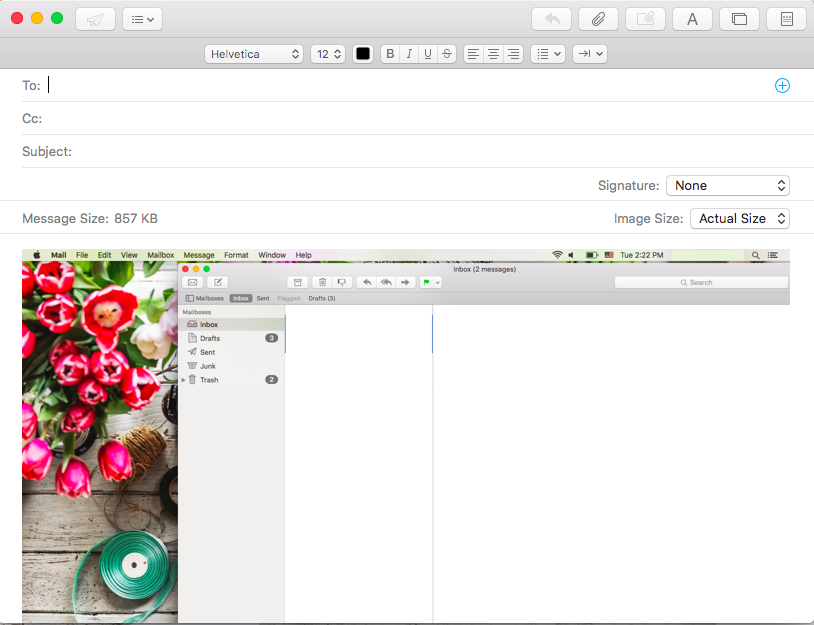
- A new e-mail window has been opened for you. Your file is now attached to your e-mail. You can add the recipient and the subject and send.
- If you haven’t set up your mail client yet and you are unable to send your e-mail this way, you can log in to Webmail and send the file from there.

