This article will teach you how to create an OpenStack virtual machine from the OpenStack control panel.
Create a Windows instance? Read our manual for Windows
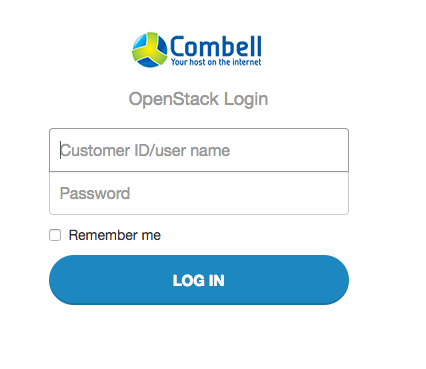
- Click on the link to log in your OpenStack control panel. Choose your authentication method and click on ‘Connect’

- Fill in your username and password to get access. You can use the same details with which you log into our control panel
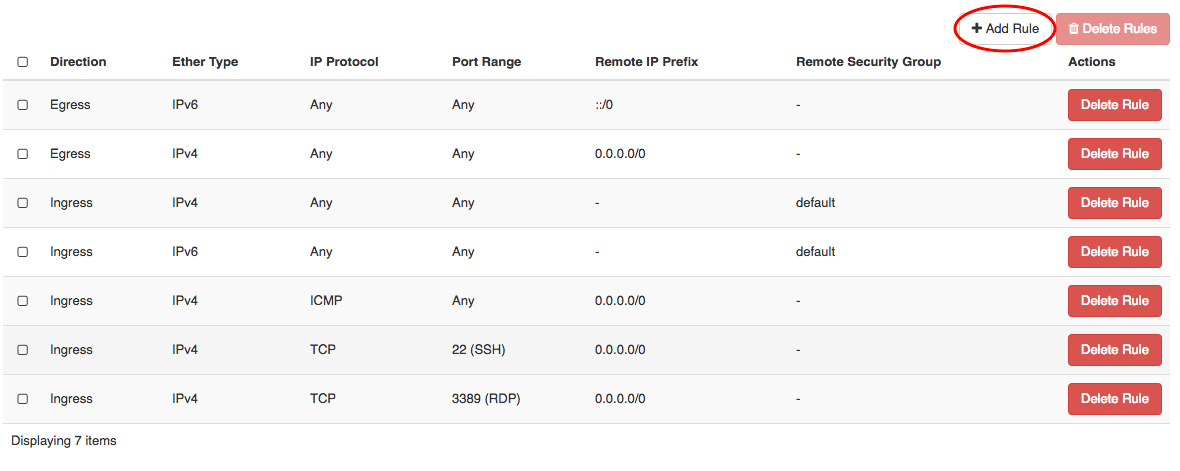
- You have opened the OpenStack dashboard. Navigate to ‘Network’ >> ‘Security Groups’.
 Here are your security groups. To edit the default group click on ‘Manage Rules’. Then click on ‘Add Rule’. This will open a pop-up window for your new rule.

 At this step you will add the HTTP port to the security group so the content is accessible via a browser. In your popped-up window just leave the default settings and add ‘80’ for the port. Then click on ‘Add’ to finalize.
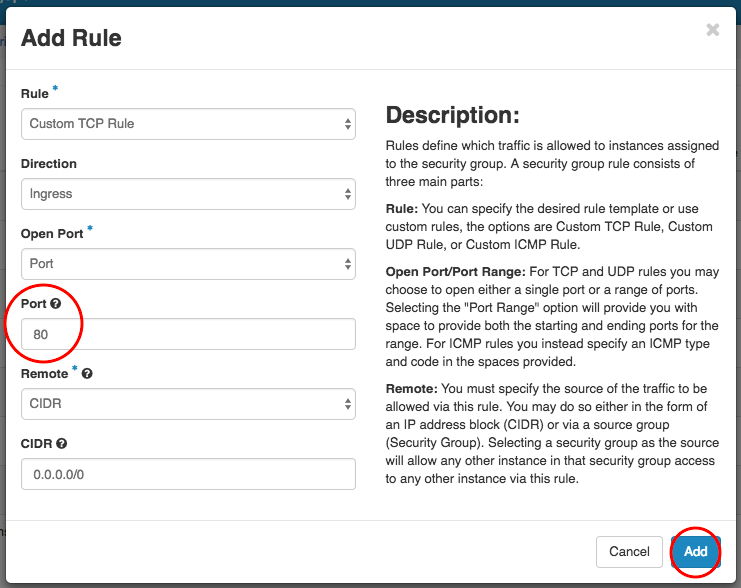 You will now see your new rule in the list, with the ‘HTTP‘ tag. Make sure port 22 is always open (for SSH access). For webs access keep ports 443 (HTTPS) and 80 (HTTP) opened. To use the server as a mail server you need: 110, 143, 995, 993, 25, 465, 587 open. To use the instance as a database server open ports: 3306.
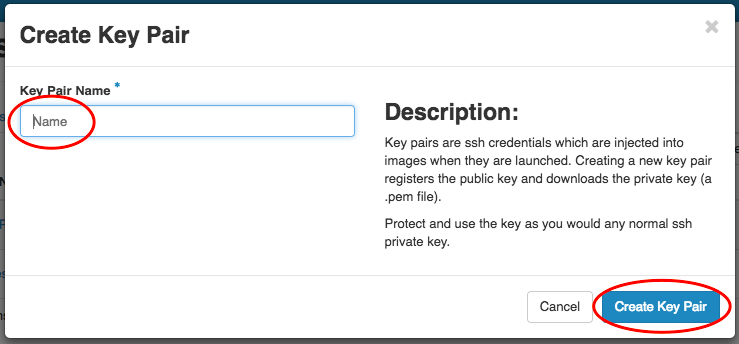
 - Now it is time to create or import an SSH key pair in order to communicate with the server. Follow ‘Network’ >> ‘Security Groups’, then switch to the ‘Key Pairs’ tab at the top.


- To create an SSH key pair click on ‘Create Key Pair’, fill in the name of the pair and click on the ‘Create Key Pair’ button at the bottom of the pop-up window. That will start a download of a .pem file – this is your private key. Keep your file in a safe location. Make sure you edit the file’s permissions to 600.


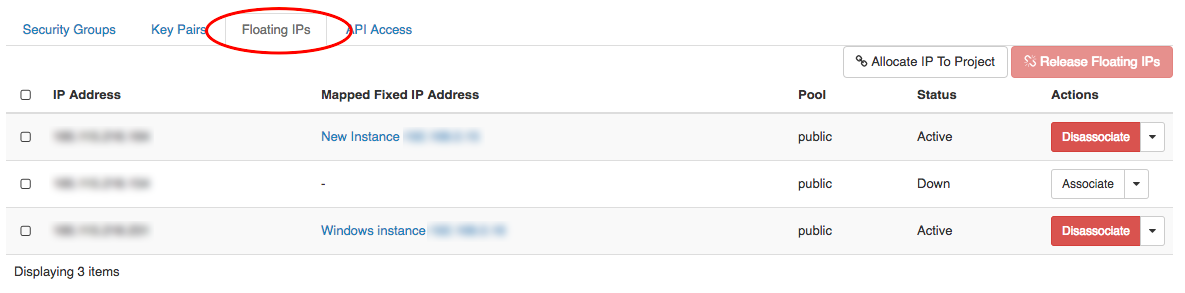
- The third preparation step is to allocate an IP address. Follow ‘Network’ >> ‘Security Groups’, then switch to the ‘Key Floating IPs’ tab at the top.

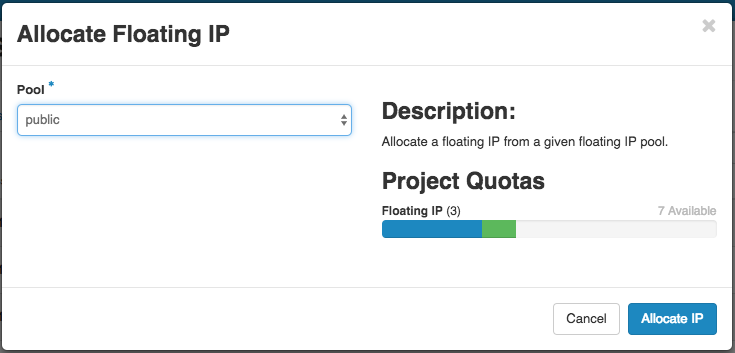
 Click on ‘Allocate IP To Project’ to open the pop-up window. Then from the ‘Public’ pool you assign an IP by simply clicking on the ‘Allocate IP’ button at the bottom.
Now you can create your virtual machine.
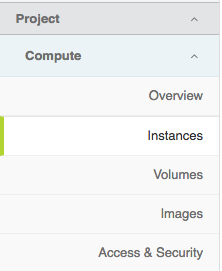
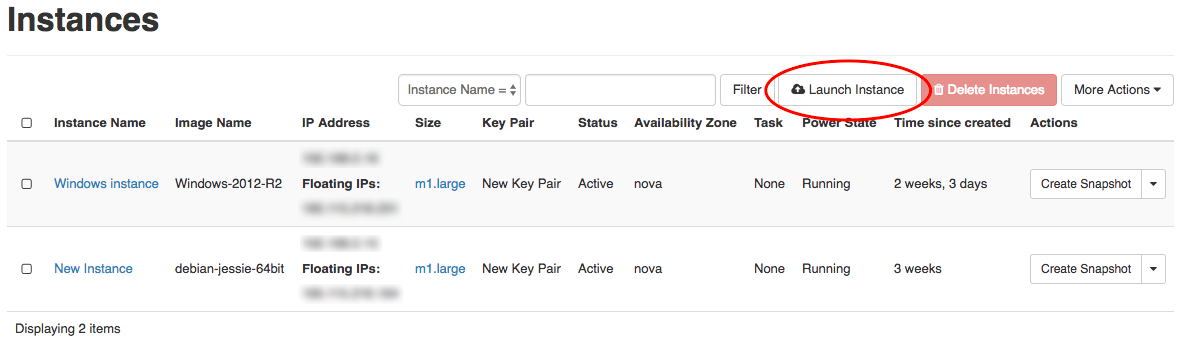
- Click on ‘Compute’ >> ‘Instances’ and then on ‘Launch Instance’
 Tip: In this section, whenever you only have one choice for your settings, it will be pre-selected for you. You do not need to click on it to add it.
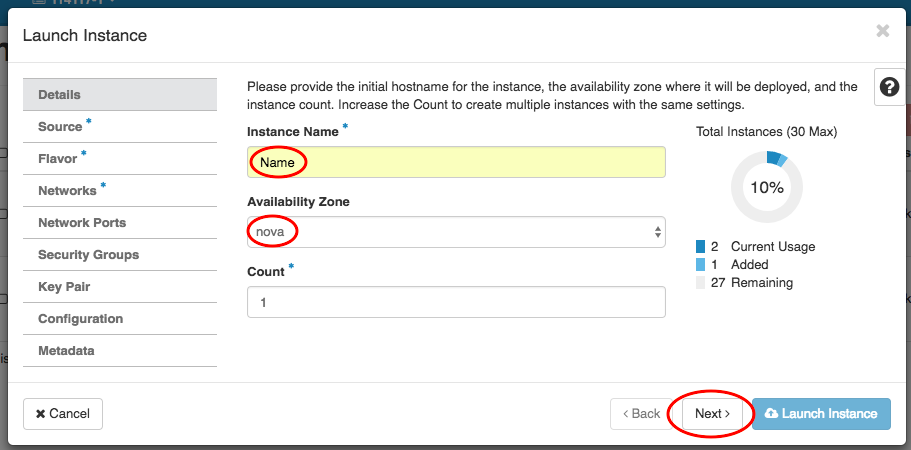
- Select your zone and click on ‘Next’
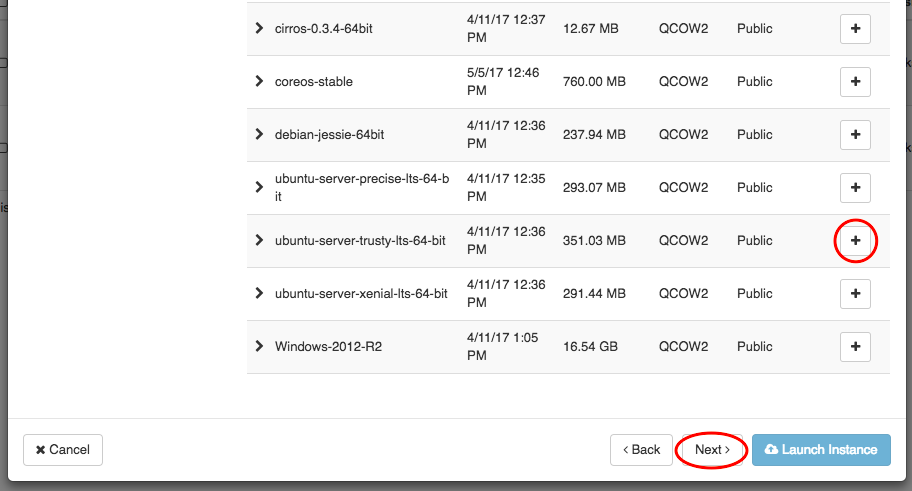
- You are now in the ‘Sources’ section. Select an OS for your instance from the ‘+’ button and click on ‘Next’ again.
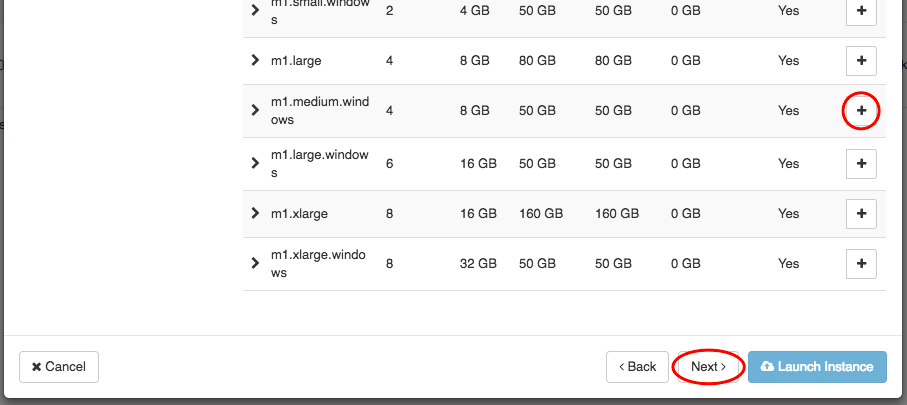
- In ‘Flavor’ you select the scale of the virtual machine. When you decide on the capacity you need, click on the ‘+’ button and then on ‘Next’ again.
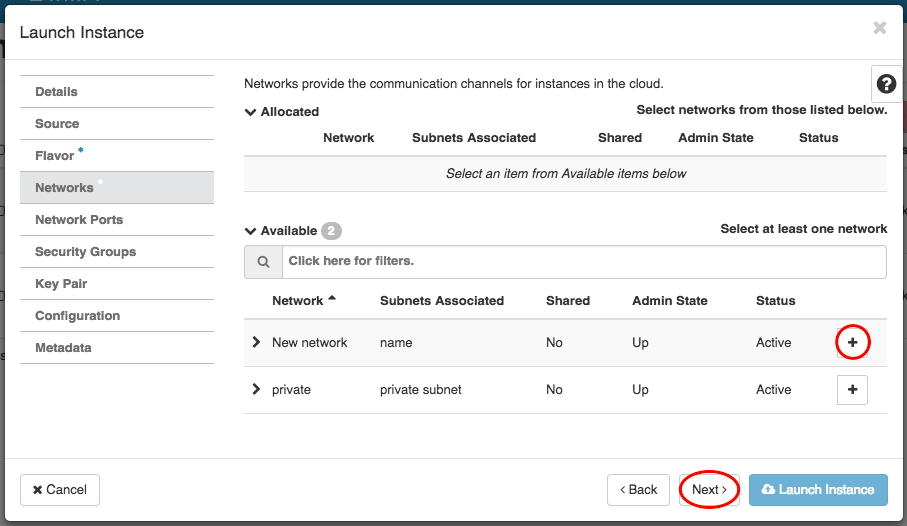
- In ‘Networks’ select your default Private network.
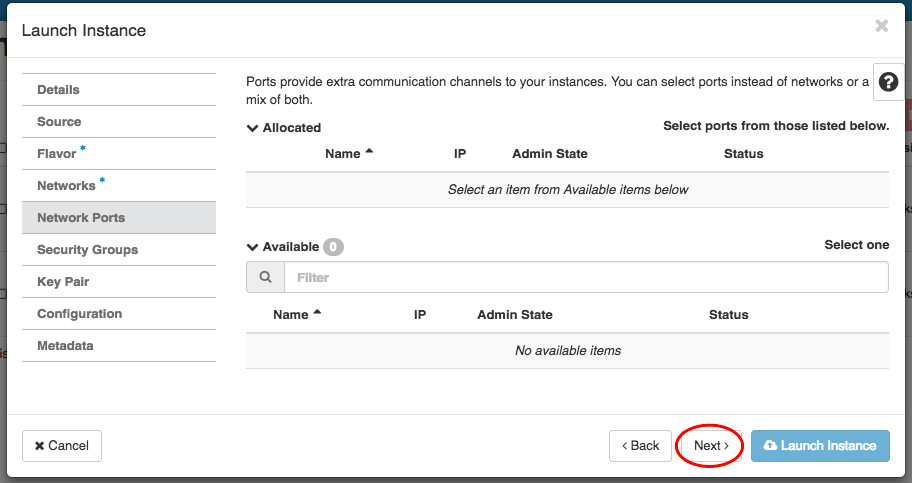
- In ‘Network Ports’ you can associate an IP address with a port.
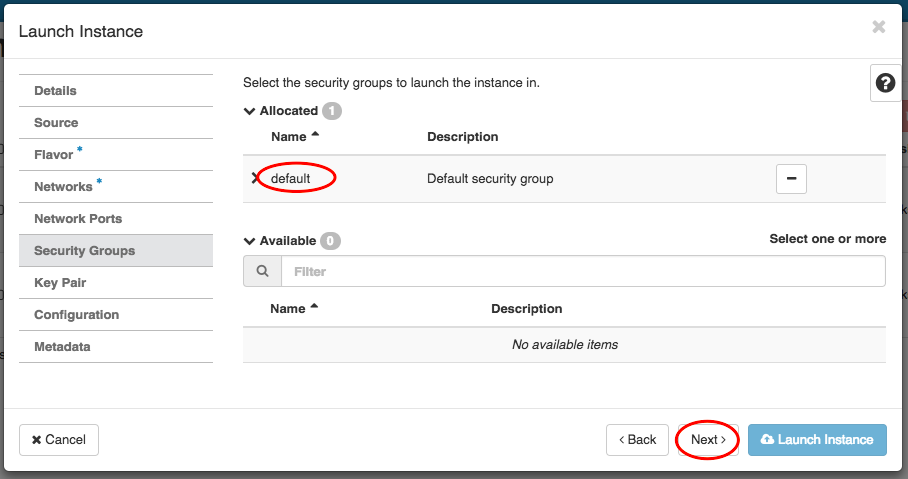
- In ‘Security Groups’ you can manage the group of filter rules applied to the instance. We have already prepared by adding Port 80 to the Default security group.
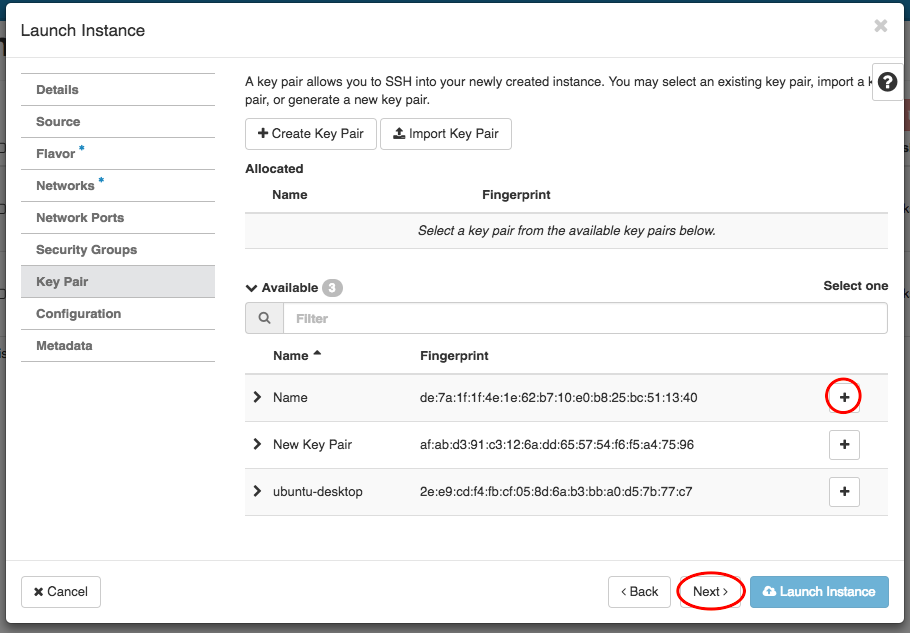
- In ‘Key Pair’ make sure the key pair you want to use is under ‘Allocated’ and not under ‘Available’. WARNING: Please note this step is not optional. If you do not allocate at least one key pair, you will not be able to access the instance in any way. With the original instance you can connect to the instance and, if you need to, add extra public keys via ./ssh.
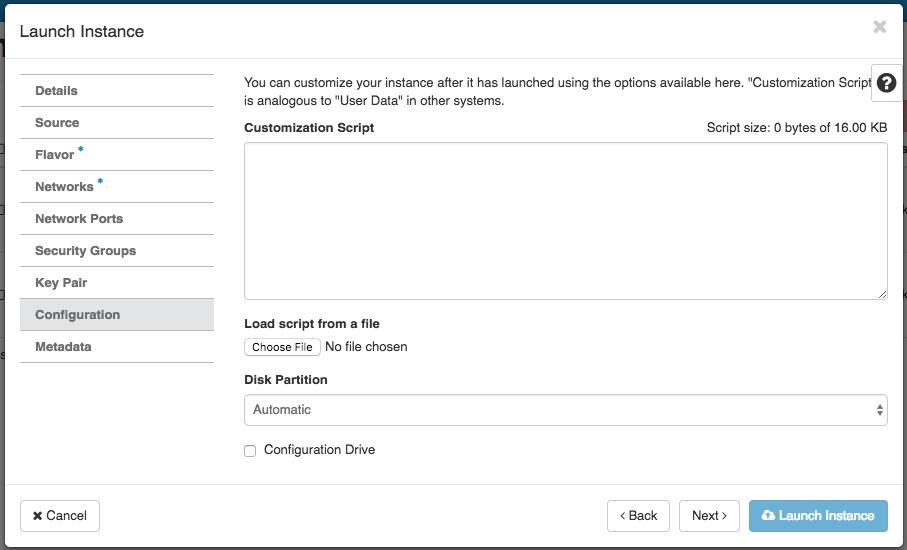
- In ‘Configuration’ you can keep the default settings.
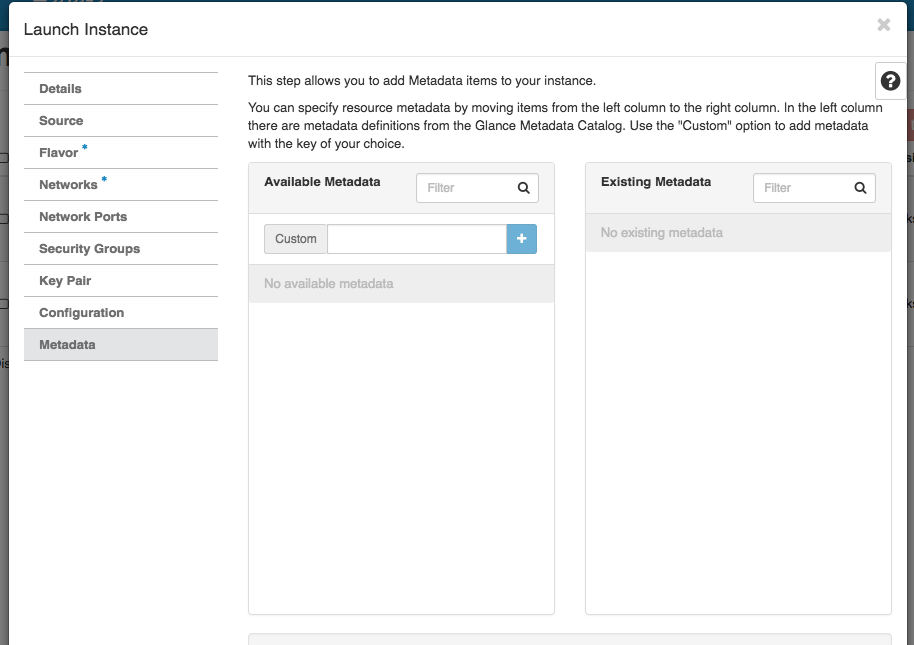
- In ‘Metadata’ you can keep the default settings.
- Select your zone and click on ‘Next’
- Click on ‘Launch Instance’ at the bottom of the pop-up to create your machine. Give it a minute to process and it is ready for work.

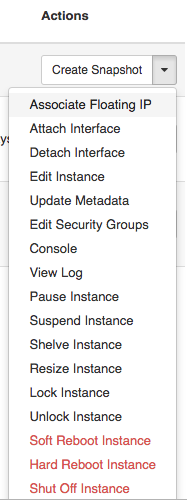
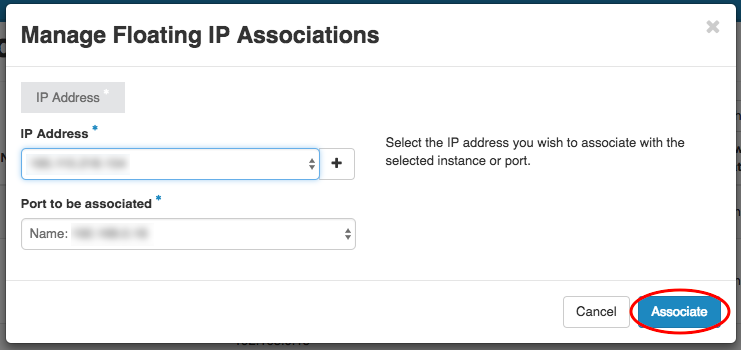
- Click on the arrow to open the dropdown menu next to ‘Create Snapshot’ and click on ‘Associate Floating IP’. Select the IP address you added in the last preparation step.
- Now you can connect to your instance via SSH by typing in the following command, where:

- ‘Key-directory’ is the location of your private key file;
- ‘private-key-name.pem’ is the name of your private key file;
- the username is ‘debian’, ‘centos’, or ‘ubunto’ depending on your OS;
- and 111.111.111.111 should be your floating IP:ssh -i Key-directory/private-key-name.pem debian@111.111.111.111

